We continue to make great progress on this project. The past week has been spent prepping and priming - mostly on secondary surfaces, so alot of what you see below will not be visible to most people, but it needed to be done and it is what we believe separates a great project from a mediocre one.
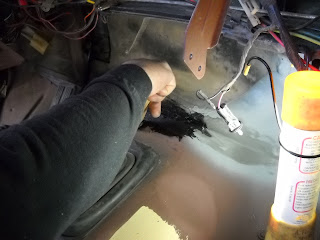
The factory sealer that runs along the firewall and floor seam was in need of repair in this area, so we used asphalt sealer that is actually made for roofing purposes. It wasily filled the voids and will maintain a necessary elasticity.
Passenger side after being primed. This is where the heater box gets installed, so this surface will not actually be seen once it is reassembled.
Finally putting some green on! This is not the same paint that will be used for all of the show surfaces.
There were tears... of pride. It is a shame this will get covered by a rubber mat...
Dad getting ready to prime.
Priming the underside of the hood
This color of primer was recommended by the auto body store for use with John Deere Green paint. (I appreciated them not laughing when they discovered what color we are painting the truck).
Priming the inside of the cab.

Cab is primed. we found out our technique for applying it was not the most efficient way, so the rest should be easier/more correct. Part of the reason we did the cab floor and ceiling first is because they are secondary surfaces that will not actually be seen when finished, so we could "practice" here and learn from our mistakes.
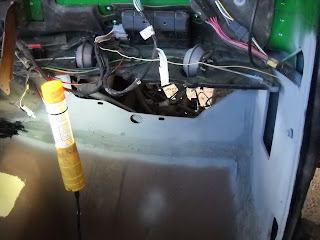
Firewall with a fresh coat of primer.
Primed splash pan - its amazing how a coat of paint (or primer) can make something look like new.
Here is the truck with the splash pan removed for priming/painting.


No comments:
Post a Comment